Home Improvement Home Maintenance
How to Repair Hardwood Vinyl Flooring?
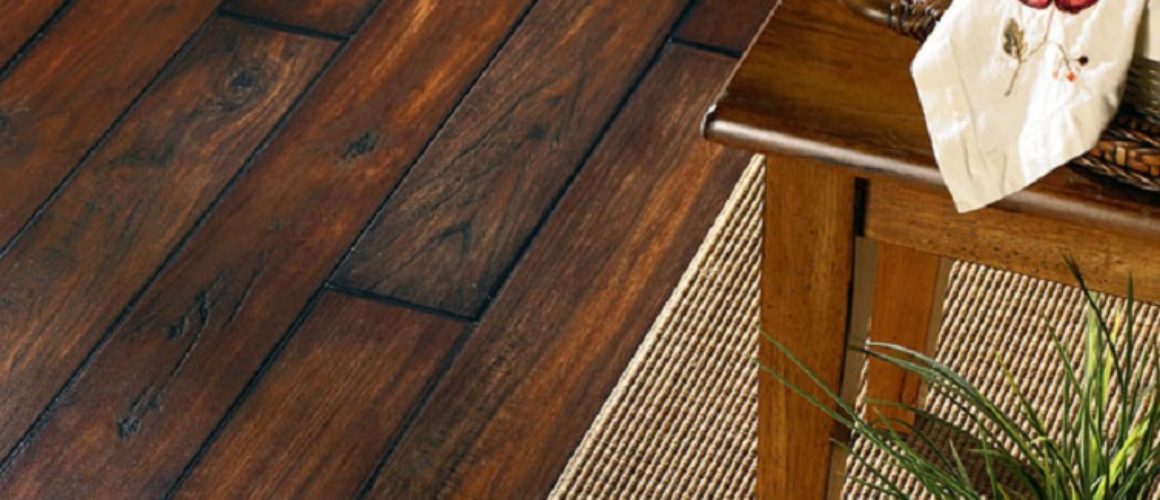
Hardwood vinyl flooring is preferred by several homeowners when it comes to choosing flooring options for their homes. The reason behind this is hardwood vinyl floorings are durable and easy on the pocket; therefore they are an extremely cost effective option. These floors come in a wide array of colors and patterns and you can pick them according to the overall décor of your home to ensure that it complements the décor.
However, you have to understand that though hardwood vinyl floorings are durable, they are not indestructible. So, at times your floor will be damaged and you will then have to repair the damages.
Repairing Hardwood Vinyl Flooring
- If you want to repair the damage caused to your hardwood vinyl flooring, you will first have to access the damage. Repairing a small cut in the floor is obviously a lot easier compared to replace a few boards.
- You can place a small piece of hardwood vinyl flooring properly on the top of the vinyl that has torn. While placing the small piece you have to make sure that the two pieces are positioned pattern by pattern or line by line.
- To cut through the pieces of vinyl, you will need utility knifes. The new piece that you install must match the older, damaged piece perfectly. The key to repairing the flooring is ensuring people don’t understand it has been repaired.
- If the damaged piece has been glued down, you will have to use a scraper or putty knife to take it out.
- To spray the adhesive on the plywood sub-floor, you will need to use notched trowel. You will also have to apply the adhesive on the edges of the perimeter that you have previously removed.
- Paste the pieces of vinyl into places. Make sure it matches perfectly.
- Use a piece of wax paper to cover the new piece that you have installed.
- Place some objects on the newly installed vinyl boards. This will ensure that the boards stick to the sub floor well.
- Let it dry for 24 hours and then apply a liquid seam sealer around the perimeters.
